Our Makeshift Worm Composter

We try to compost as much as possible in our house. However, as the weather gets colder, we find ourselves less and less inclined to trek outside to the compost bin to dispose of our food scraps. That’s why we decided to order a worm composter! It seemed so simple. The advertisement said it was odor-free so we can keep it indoors, the worms will compost down the food scraps we don’t want to carry outside, and we’ll have the added benefit of being able to feed our vegetable gardens with nutritious worm castings. It seemed like a no-brainer. That is, until the worms showed up before the composter!

We read all the warnings in all the blog posts. “DON’T ORDER WORMS BEFORE YOU HAVE A PLACE TO PUT THEM.”  We thought we understood. We got it. We didn’t order them before the composter. We ordered them at the exact same time.  Smart right? Wrong again. Our composter was set to arrive on a Monday afternoon and on the Friday before, a bag of dehydrated, hungry worms showed up on our doorstep needing a place to live and a meal to eat and we had no where to put them.  

So again to the blog posts and online forums I went.  Luckily we had everything we needed on hand to make a temporary home for our worms.  We started with a plastic tub with a clip on lid and added a layer of peat moss. We then added chopped straw and water and mixed it all together.

IMG-0081.JPG
IMG-0082.jpg

Next, we added some eggshells, coffee grounds, and various kitchen scraps and covered that with another layer of moistened peat moss. Next, it was time to add the worms!

IMG-0091.JPG
IMG-0086.JPG

We then added a layer of moistened newspaper and were about to put the cover on, when realized we forgot the air holes. Now, we had read that the worms could be restless the first few days and may try to climb and escape their enclosure, but the worms looked so little, how far could they really climb? The answer is far, and much faster than you would expect. In the time it took us to go to the basement and drill a couple holes in the cover, the worms had scaled the walls of their enclosure and were spilling out onto the floor!

IMG-0087.jpg
IMG-0088.jpg

We retrieved the loose worms and got them all tucked under the newspaper and the cover on without any casualties.  We placed the box under a light we use to grow microgreens, because we read light helps encourage them to burrow into the dirt, and patted ourselves on the back for a job well done.  

That is, until I went to check on them about an hour later.  The worms had escaped out of the air holes! They had spilled out onto the table and were making a run for our trays of microgreens.  After another round-up of worms, we knew we needed a much larger container. We added more straw and peat moss to a bigger plastic tub and then dumped our little escapees into their upgraded living quarters.  We then covered them with another dampened piece of news paper, left the top open, and placed them back under the light.

IMG-0092.JPG
IMG-0093.jpg

It has been a full 24 hours now and we thankfully haven’t had any more worm escapes.  Hopefully that means they are happy and content in their temporary housing. Who knew keeping worms could be so stressful?

Cloning Tomato Plants

Have you ever had a tomato plant produce so well you wished you could make more of the exact same plant?  Well, you kind of can. 

Nick’s grandmother has these amazing cherry tomato plants from Thailand that self seed in her garden every year and we wanted to try to bring them to our house.  We have some seeds that we are saving (a blog post about that will be posted soon!), but we also wanted to try to take a clone of the plant so we could grow it up indoors over the winter and then clone it again in the spring to make lots of little plants that are ready to go outside! 

When you take a clone of a plant you are producing an identically genetic plant to the original one.  This can be done with many kinds of plants, but tomatoes clone incredibly well and are an easy plant to start with.  

First, you need to take a cutting from your original, or mother, plant.  I usually take a few small branches from the bottom of the plant since they would usually be trimmed off anyways.  

IMG-0016.JPG

Next, place your cutting in a small glass of water (a shot glass worked great in this case) and set it on your window sill.  You can scratch the edges of the bottom of the stem with your clippers before placing it in the water to help encourage root growth.  

IMG-0017.JPG

In three to five days you will start to see little root hairs forming at the ends of your clone.  Your tomato is now ready to be planted! I would suggest growing them up a little indoors before planting them outside.  

IMG-0026.JPG

Below is our tomato clone that we will be growing indoors through the winter to hopefully clone again in the spring! 

IMG-0028.JPG

Seed Saving: Beans

If you have ever been interested in saving seeds, but didn’t know where to start, beans are a very simple jumping off point.  We are saving two types of beans this year. One we grew intentionally for drying to use in soups over the winter and the other because it performed incredibly well and we want to plant it again next year.  They were actually so prolific that we missed picking tons of them and they ended up drying on the vine, which further pushed our decision to try to save the seeds.  

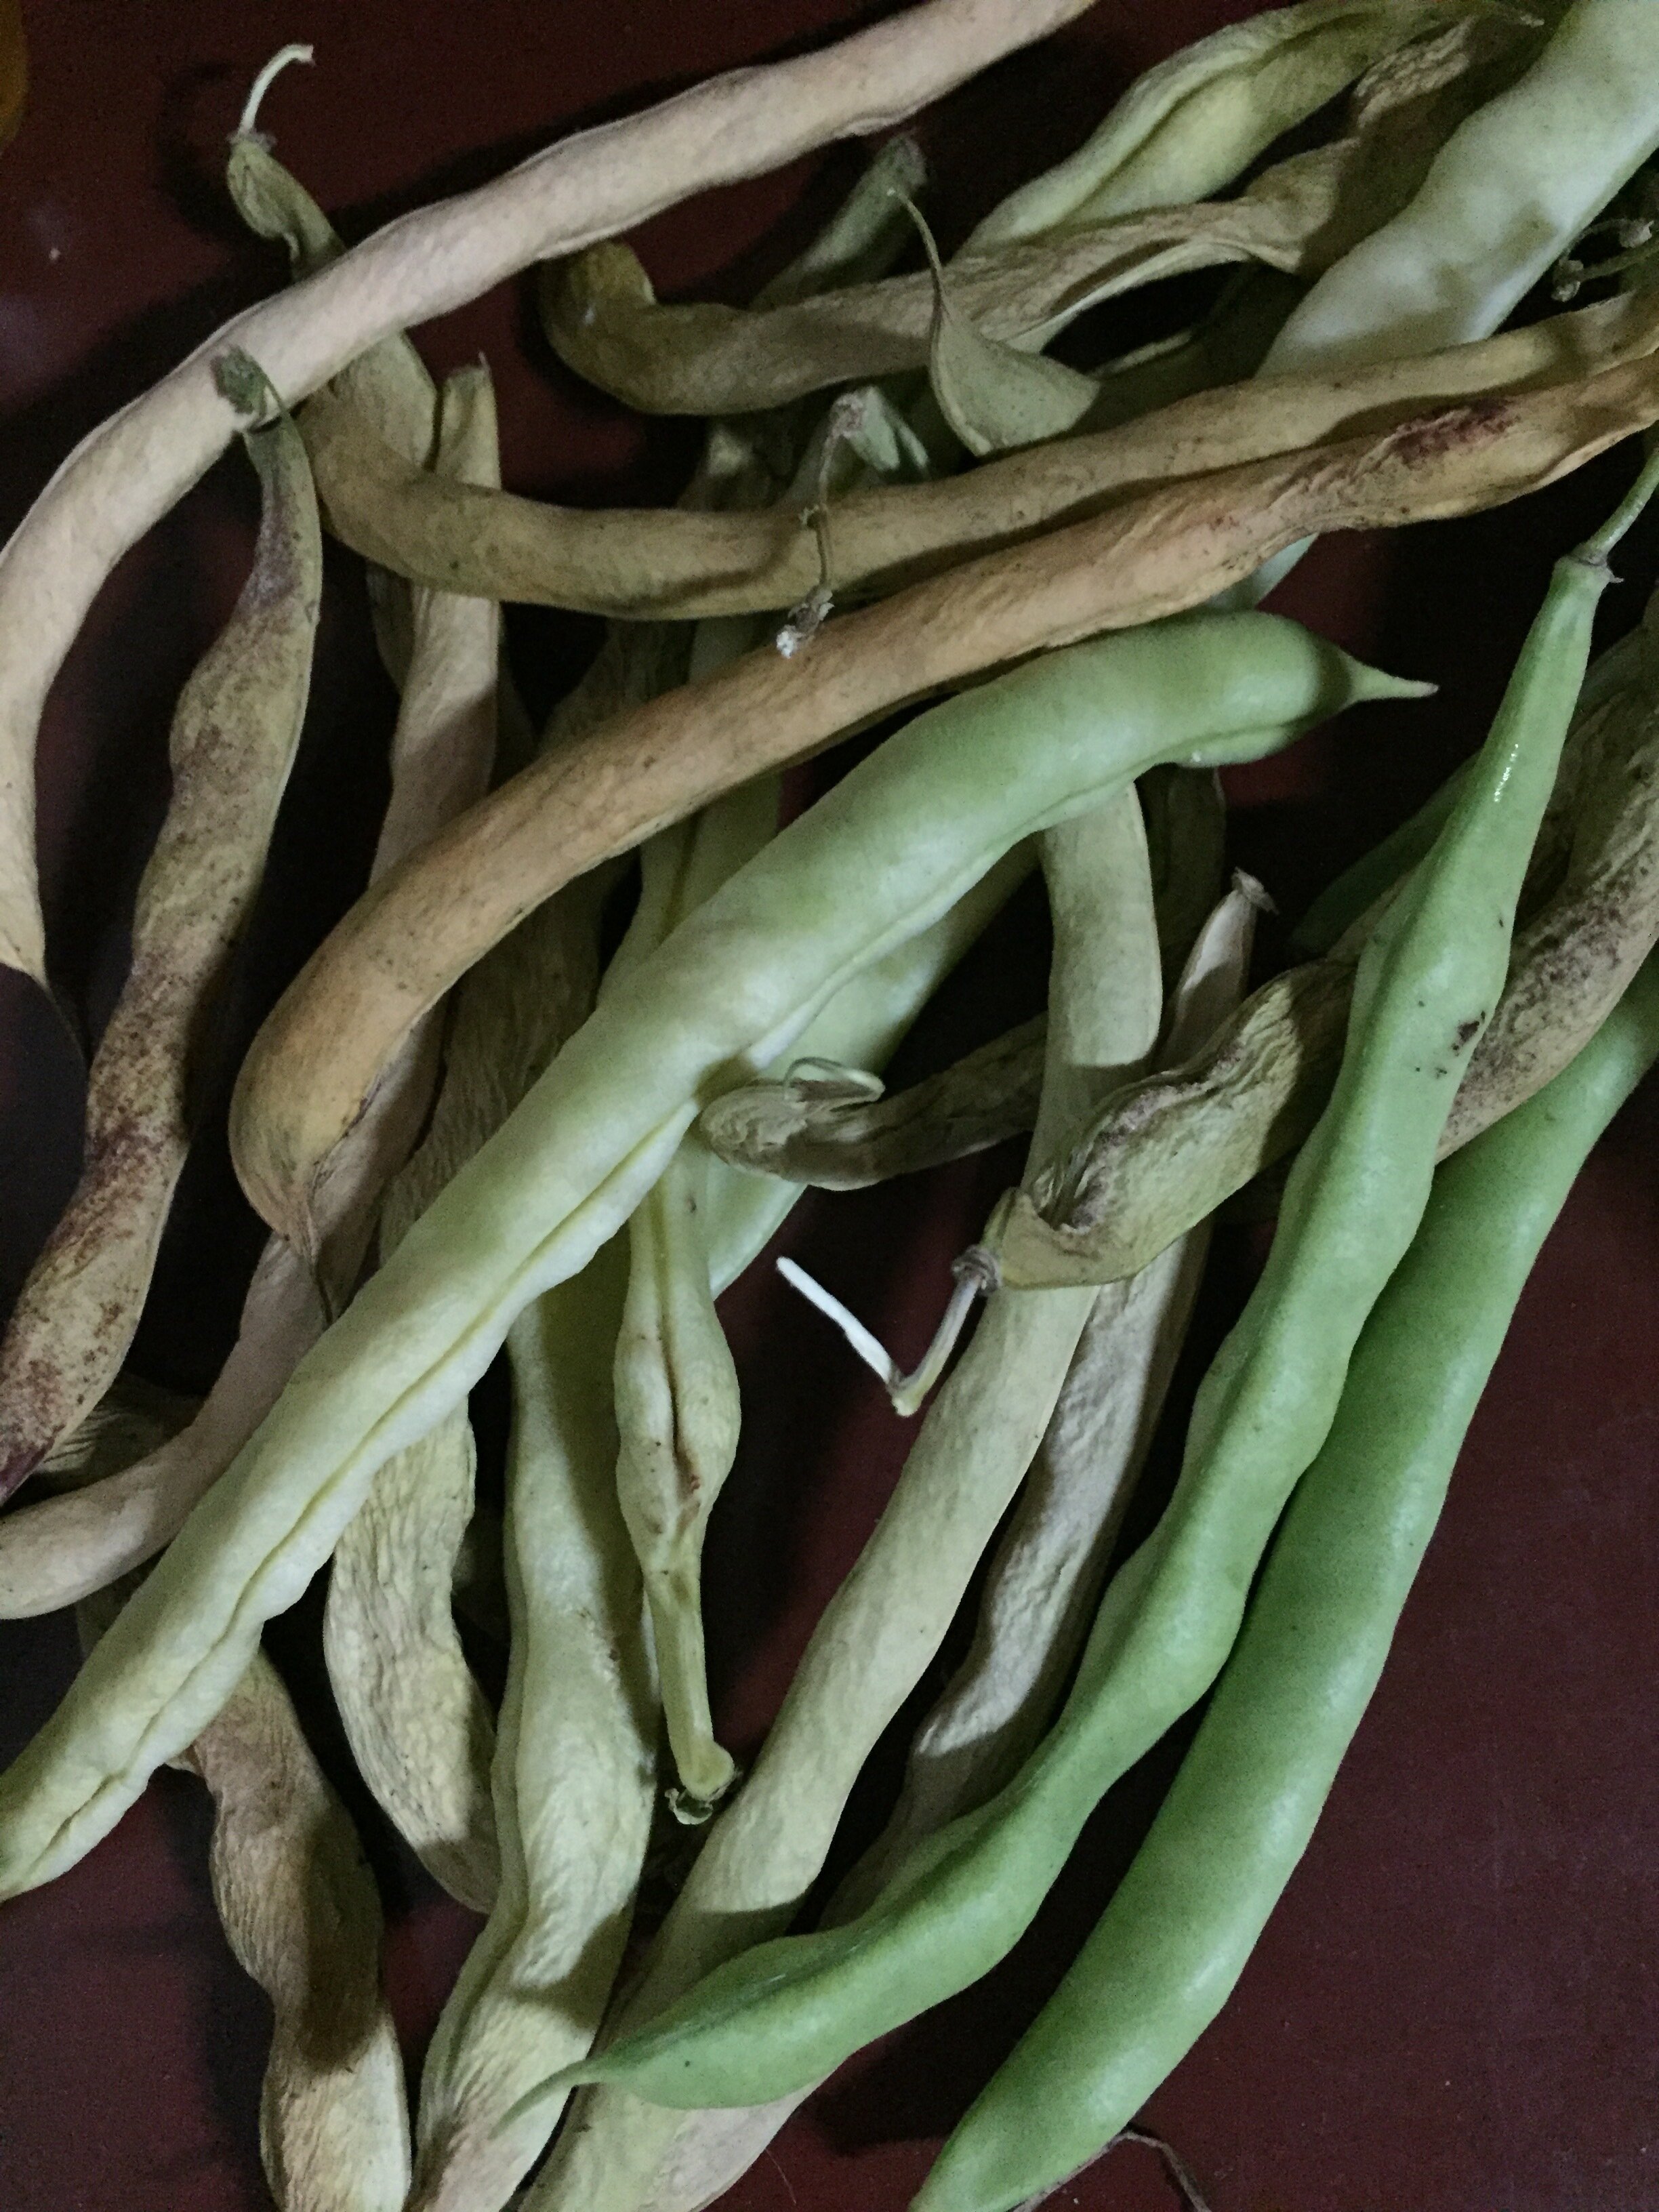
The first thing you need to do is let your bean pods dry.  You can either let the beans dry on the vine or pick them and let them dry some place out of the way.  Some of our beans dried on the vine, but as the weather turned cold, we picked the rest and let them dry on the counter.  

IMG-0023.JPG

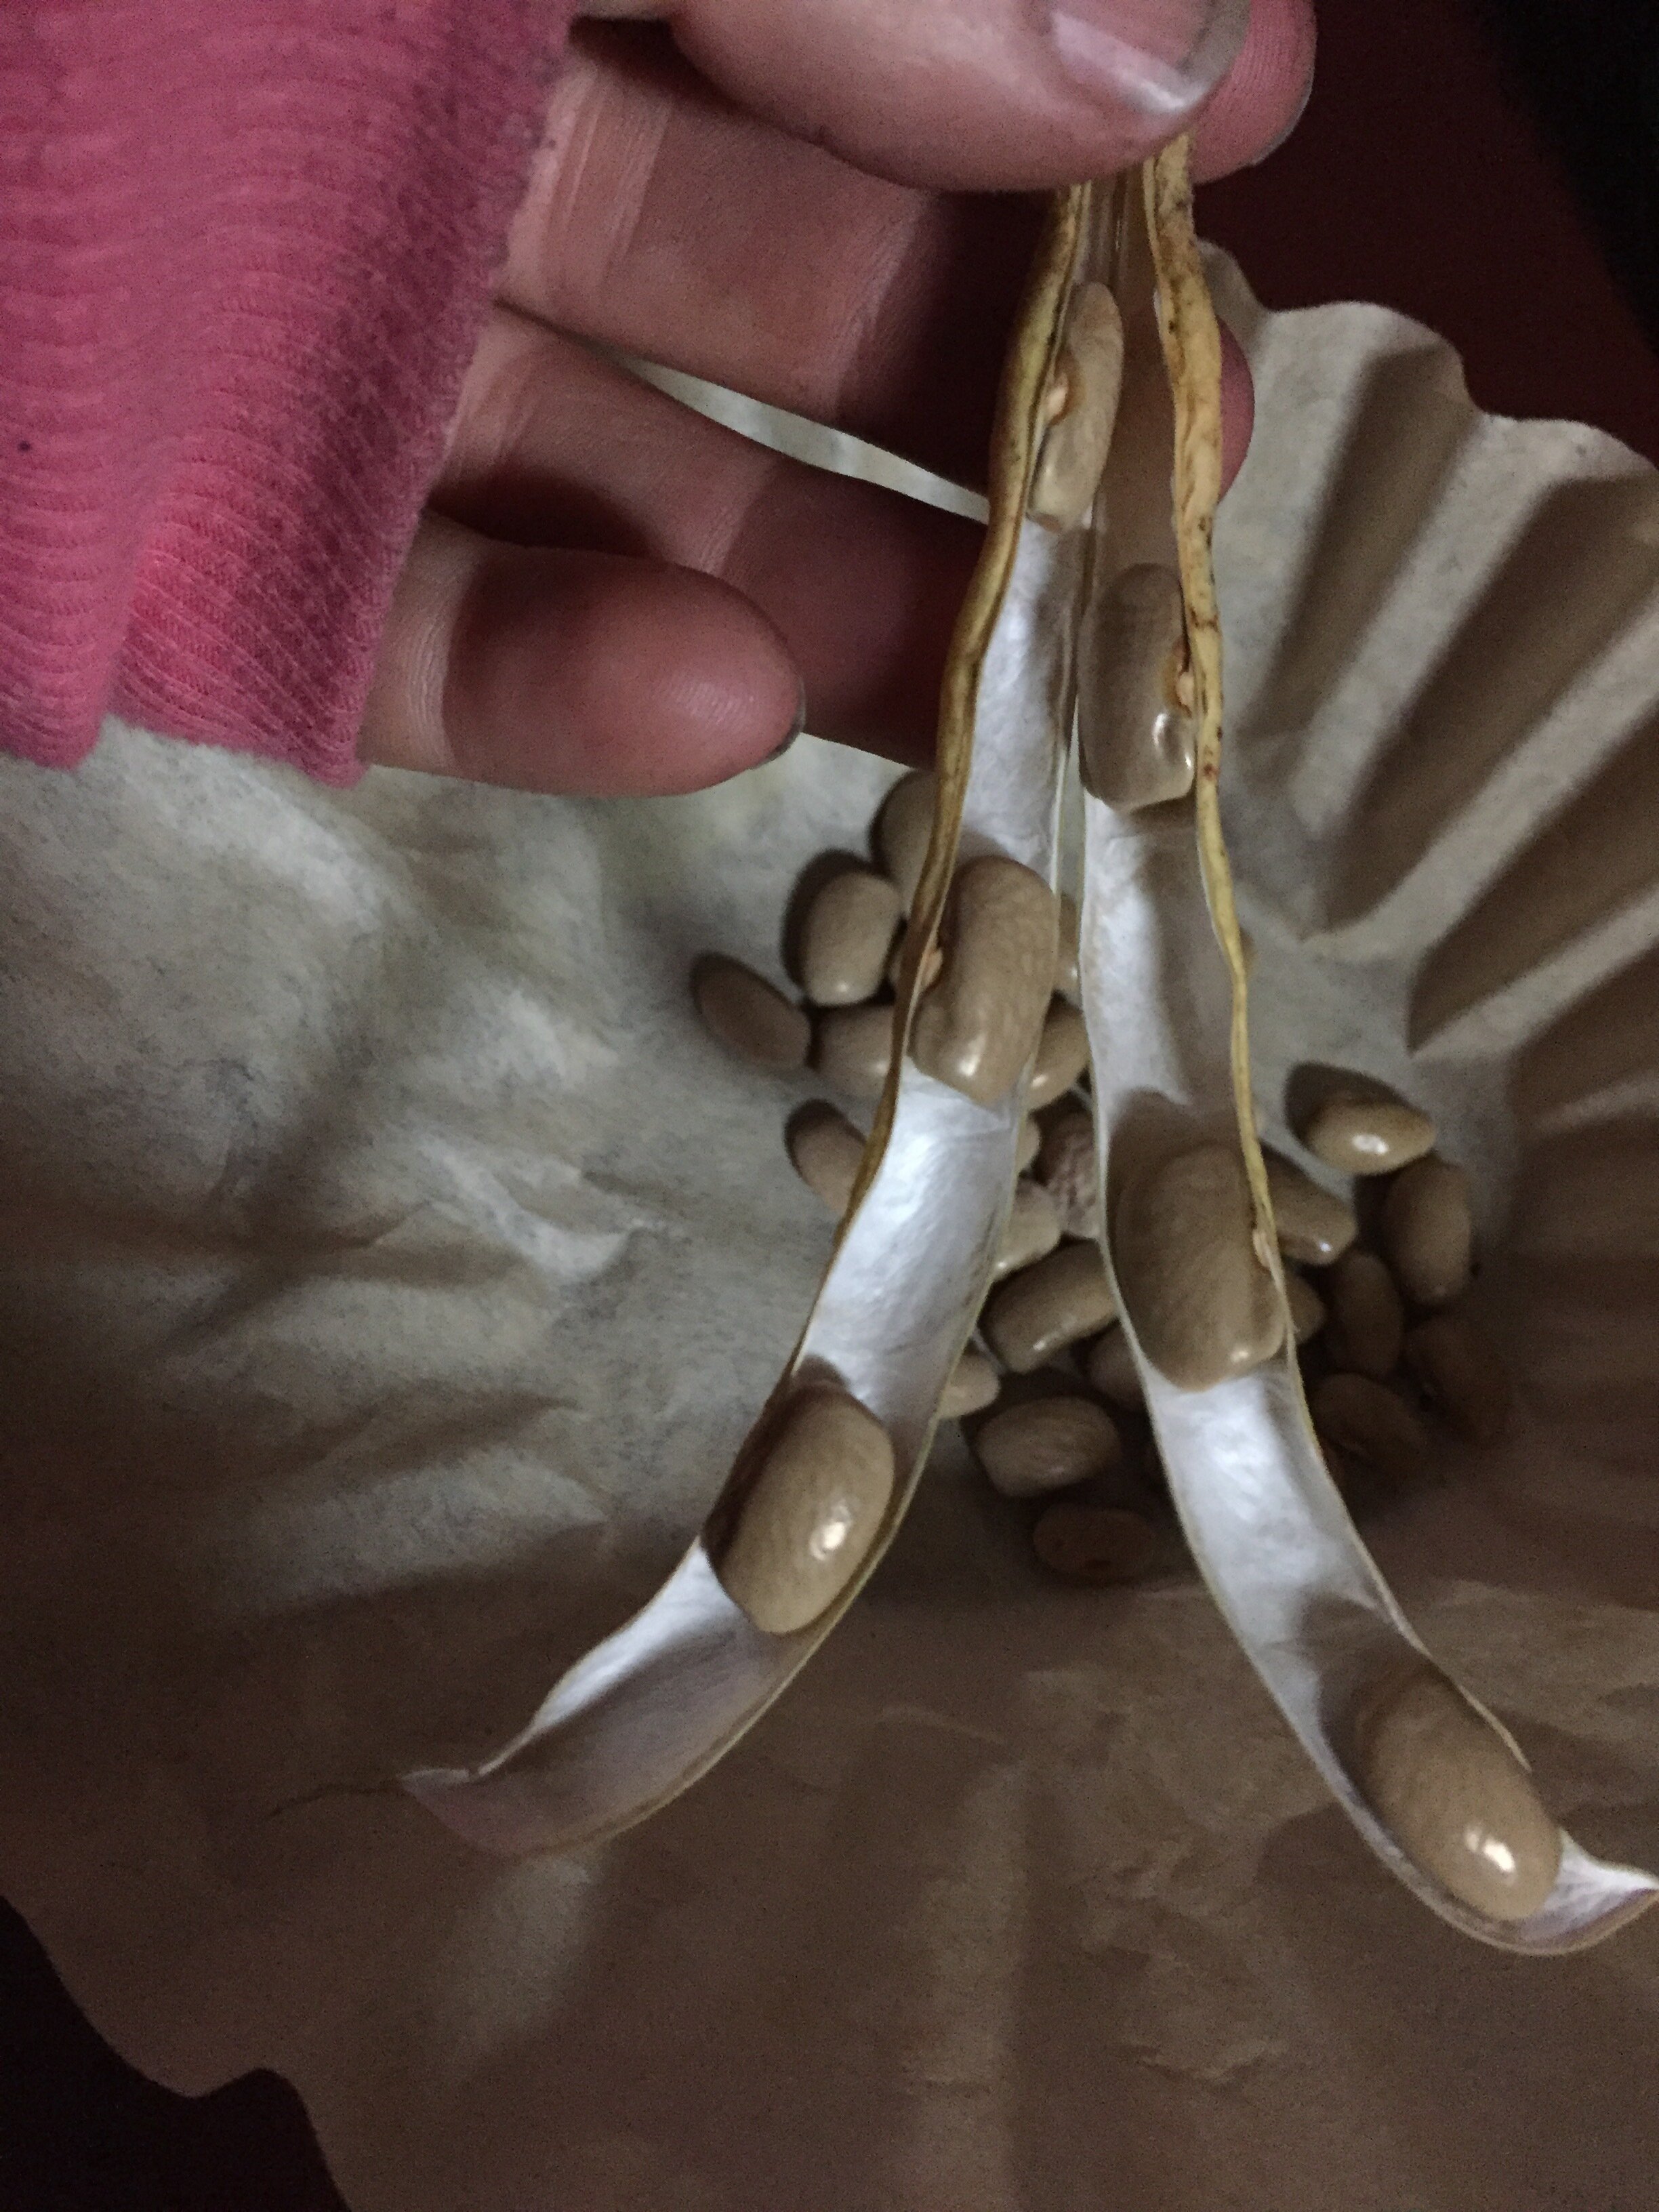
Once the pod dries and starts to turn brown, you can open it up and remove the seeds.

IMG-0025.JPG

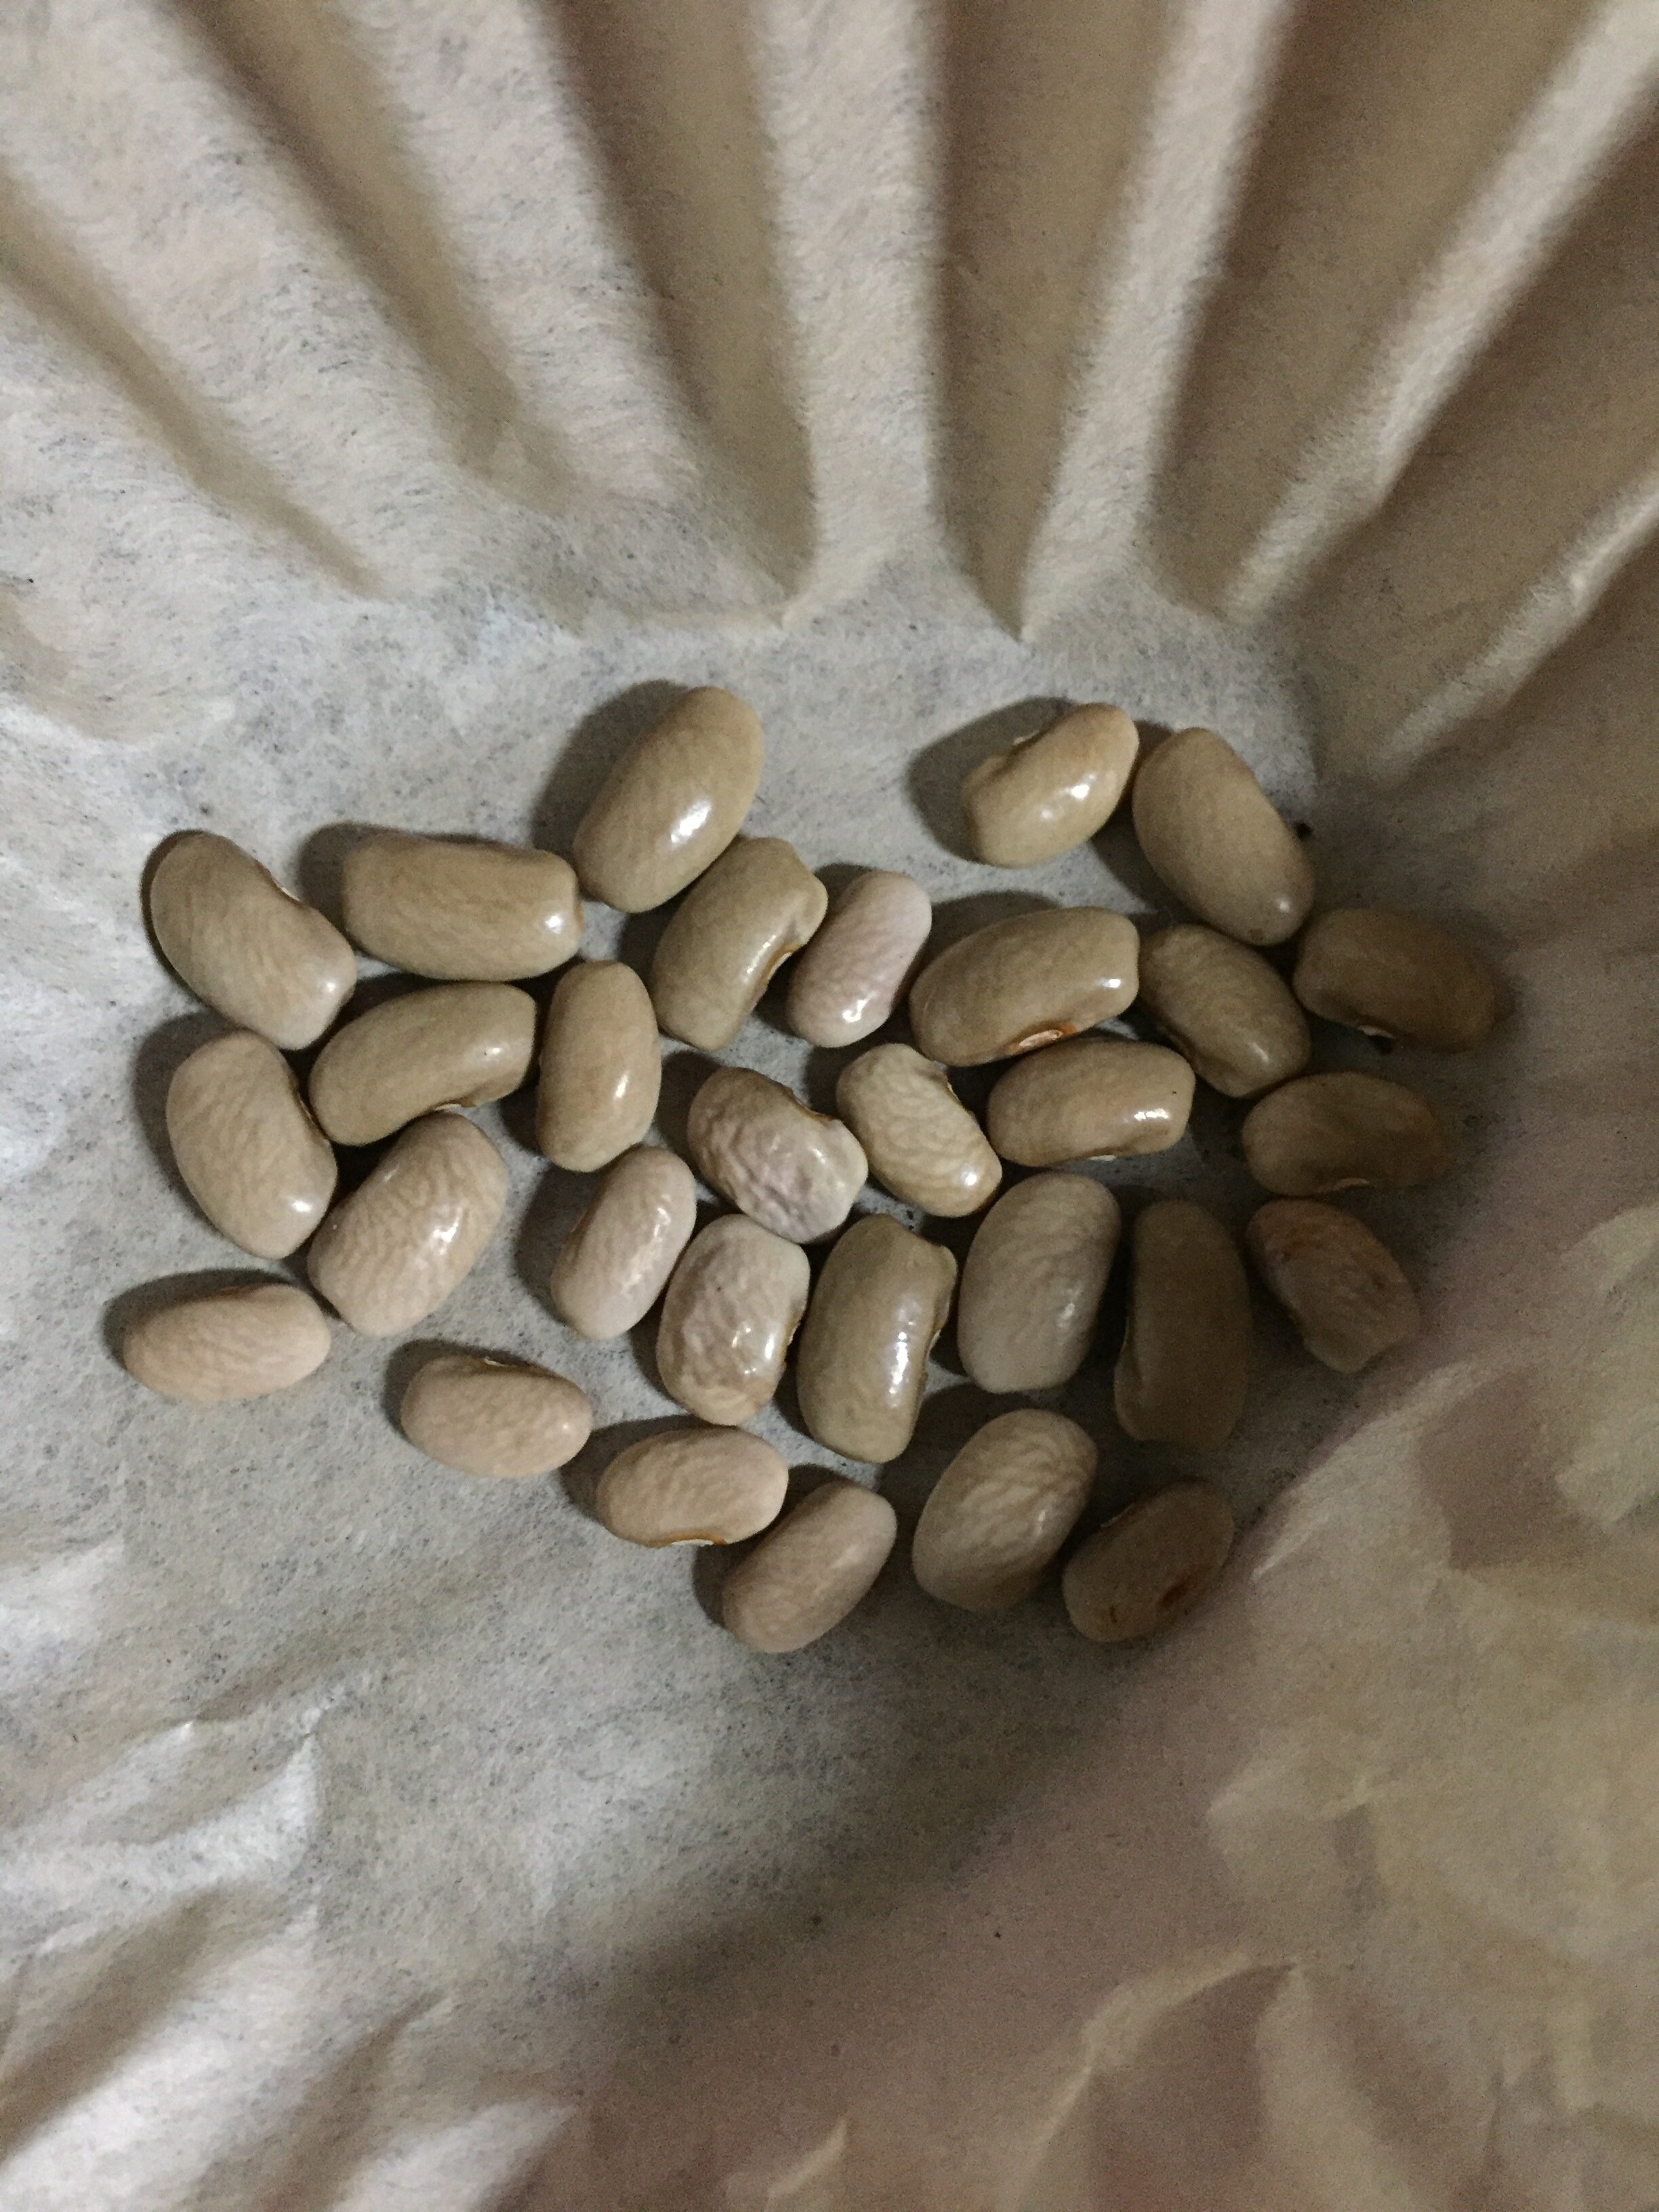
We then placed the seeds on a coffee filter and will let them sit out to dry for another week before placing them in an envelope.  Make sure to label your envelope with they type of seed and store it in a cool, dry, dark place.  

IMG-0024.JPG

That’s it! You now have beans saved for eating later or planting in the spring!

My First Attempt at Making Stevia Extract

I started growing stevia in the spring. Stevia is an herb that has a sweetness to it and can be used as a natural sugar alternative. I haven’t experimented with using it much, but I knew my mom uses it in her coffee and I was hoping to be able to grow enough for her to try so I could see how it compared to store-bought varieties. I initially started by drying the stevia and powdering it. The taste was pretty close to store-bought powder, but it did not dissolve well in coffee (it seemed to be better suited to baking). So I then set out to make an extract.

The first thing I did was harvest fresh stevia leaves and packed them into two 4oz mason jars. I then covered the leaves with vodka and let them sit for about 40 hours. (The article I read had suggested 36 hours, but it took me a little longer to get to it).

IMG-1158.JPG

I then strained the liquid through a coffee filter and simmered it on the stove for 30 minutes, stirring constantly. It took about 20 minutes to notice a difference in color and viscosity and it wasn’t until the last few minutes that the liquid really took on a dark color and syrupy consistency.

IMG-0002.jpg

In the end, I was only rewarded with about a teaspoon of thick, dark syrup, so I would suggest starting with quite a bit more liquid if you were considering trying this for yourself.

IMG-0005.jpg

The syrup is really quite sweet and I would assume you would only need a few drops per cup of coffee.  I will let you know what my taste tester (aka my mom) says! 

The Wonderful Uses of Jewelweed

Jewelweed is a native plant, growing commonly in the northern and eastern parts of the United States. It is a self-seeding annual that grows well in partly-shaded, moist areas. It grows in dense patches and is one of the only native plants to successfully outcompete non-native, invasive garlic mustard!

Jewelweed has many rumored topical medicinal uses. It is said to relieve itching from a variety of ailments, including poison ivy rashes. Its anti-fungal properties are also said to help with athlete’s foot.

I had never experienced poison ivy before this summer, so I was a little surprised when my arms were covered in that indicative itchy rash. Being the stubborn person that I am, I was convinced it would go away by sheer will. I just wouldn’t scratch it. Then it wouldn’t spread. Easy. Right? Try telling that to your half-asleep self at 3:00 a.m. who does not care how angry your future self will be for scratching that itch that’s been driving you crazy for hours.

That’s when my amazing husband discovered the wonders of Jewelweed. As soon as I sprayed the liquid on my arm the itching sensation immediately stopped! It felt like a miracle. I went from wanting to rip my arms off one moment, to being perfectly fine, ready to go about my day. Now, I won’t lie to you. This isn’t a one-and-done cure. The itching does come back after a little while, however, after multiple applications the rash begins to dry and heal.

If you are suffering from a poison ivy rash and want to try this natural cure, head on over to our website to check out our Jewelweed products! The soap is great if you feel like you encountered poison ivy and you want to wash the oils away before the rash forms and the spray works great for already forming rashes.

https://gearyfarmsnh.squarespace.com/new-products

We’d love to hear how you use Jewelweed and what has worked for you!


How to Grow Apple Trees From Seed

Often times you hear you cannot grow an apple tree from seed. This is said for two reasons; one, it takes a much longer time to grow a tree from seed than from grafing and two, an apple tree does not grow true to seed. When you purchase an apple at a store, that apple was grown through a cross pollination of two parent trees. If you were to plant the seeds from that apple, they wouldn’t produce the same fruit. Instead, they would grow as one of the two parent plants.

We recently had a friend bring us apples from a very old apple orchard in Maine and they were the most delicious apples we had ever tasted. So we decided to save the seeds and see what we end up getting.

IMG-1105.jpg

The first thing you need to do (after picking and eating your apple of course!) is dry your seeds. We put them in a small glass mason jar so we could easily shake them around once in a while. It is also suggested to lay them out on a piece of wax paper, turning the seeds every day or so. The drying process should take around three to four weeks. The seeds will start to lose their glossy shine when they are fully dry.

The seeds then need to undergo a stratification period, or a period of cool temperatures. After the seeds are dry, we will cover them with a light layer of soil and put them in the refrigerator for three months. After that time period, we will give them some moisture and put them out on the window sill to see how many will germinate. Check back around March to see how we did!


Welcome to the Farmer's Porch

The first time I went to Nick’s grandparent’s farm, it was around 3:00 p.m. on a perfect summer day. The field had recently been mowed, there was hay drying in the sun, and fresh-brewed coffee was just being served on the porch. Because at 3:00 p.m. on the farm, work stops for the day and everyone gathers to relax on the porch with a hot mug of coffee in their hands, made perfectly with four level tablespoons of grounds.

It was at this moment that my dream of owning my own farm, with a porch where people I love gather together at the end the day began. That dream is still in the works, but until then, I’d like to offer you this place to come when your work day is done. New blog posts will be served at 3:00 and I hope you will find enjoyment sipping your afternoon coffee and reading a few words.